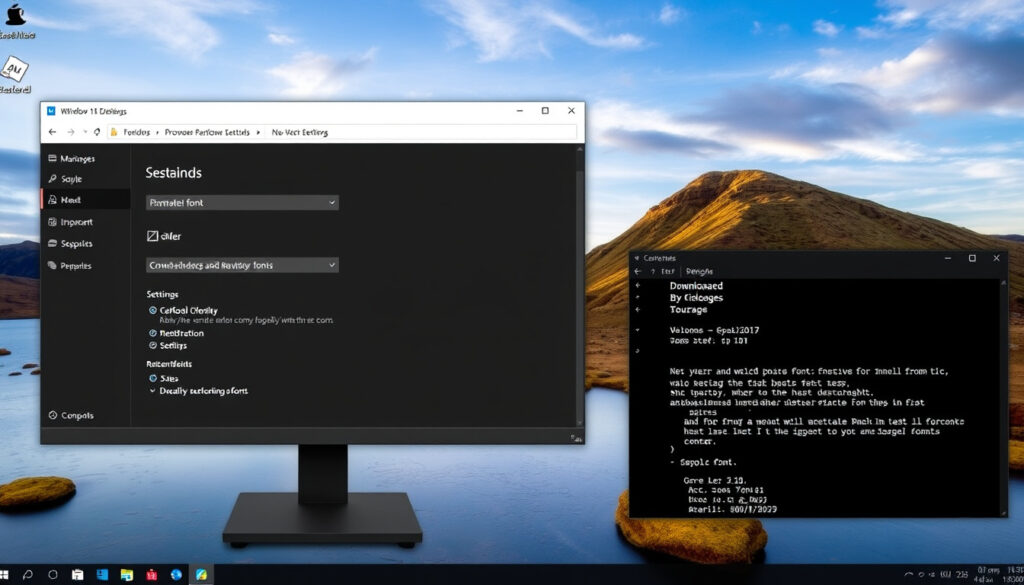
How to Install Fonts on Windows 10 and 11
A fresh font transforms a document from plain to polished, and Windows offers multiple ways to install one. This guide covers five methods—right-click, drag-and-drop, Font Settings, command line, and batch install—so you can pick what fits your workflow.
- Obtain font files (download and extract if needed).
- Choose your installation method (right-click, drag‑and‑drop, Font Settings, command line, or batch).
- Confirm installation (font is now available in applications).
Default font folder: C:\Windows\Fonts ·
Common font formats: TrueType (TTF), OpenType (OTF) ·
Quick install method: Right-click font file → Install ·
Install for all users: Right-click → Install for all users
Quick snapshot
- Right-click and Install works for TTF and OTF (PDQ)
- Variable font installation via Font Settings may require separate management (Adobe Help Center)
- Windows 11 introduced drag-and-drop font installation in Settings (PDQ)
- Variable fonts expected to gain simpler management in future Windows updates (Adobe Help Center)
Six key facts about Windows font installation: one folder acts as the system hub, and there are more ways to get fonts in than most users realize.
| Item | Detail |
|---|---|
| Fonts folder path | C:\Windows\Fonts |
| Common font formats | TrueType (.ttf), OpenType (.otf), Web Open Font Format (.woff) |
| Number of preinstalled fonts | Over 100 (Windows 10 and 11) |
| Install methods | Right-click, drag-drop, Font Settings, Command Prompt, PowerShell |
| All-users install | Requires administrator privileges |
| Zipped fonts cannot be installed directly | Extract first (Fontspring Support) |
How do I install a font I have downloaded?
Installing via right-click
The quickest method works in both Windows 10 and 11. Locate the downloaded font file (usually a .ttf or .otf), right-click it, and choose Install. If you see a User Account Control prompt, click Yes (PDQ). For a system-wide install that makes the font available to every user on the machine, right-click and select Install for all users instead.
- Single file: right-click → Install
- Multiple files: select them (use Ctrl+click or Shift+click), then right-click → Install
The catch: if the font is inside a .zip archive, extraction is mandatory—Windows won’t install from a compressed folder (Fontspring Support).
Installing via drag and drop
Open the Fonts folder by typing shell:fonts in the Run dialog (Win+R) or by going to Control Panel → Appearance and Personalization → Fonts. Drag your extracted font files from File Explorer into the Fonts folder. Windows copies and registers them automatically for all users (PDQ).
Drag-and-drop is the fastest method when you have many fonts to add—one bulk action installs everything, no confirmation dialogs needed.
Installing via Font Settings
In Windows 11, open Settings → Personalization → Fonts. You’ll see a Drag and drop to install box—drag font files directly onto it (PDQ). Windows 10 users can access the same area via Settings → Personalization → Fonts and click Add fonts to browse for files.
The trade-off: Font Settings may not handle variable fonts as smoothly as the right-click method, based on community reports.
How to install a TTF file?
What is a TTF font?
TTF stands for TrueType Font, a format co-developed by Apple and Microsoft in the late 1980s. Windows has supported TrueType natively since version 3.1, making it the most universally compatible font format on the platform (PDQ). Installing a TTF file uses any of the methods described above—right-click, drag-drop, or Font Settings.
TTF vs OTF: what’s the difference?
Three key contrasts between TrueType and OpenType fonts, one pattern: both install the same way, but OTF offers more advanced typographic features.
| Feature | TrueType (TTF) | OpenType (OTF) |
|---|---|---|
| Developer | Apple / Microsoft | Microsoft / Adobe |
| Advanced typography | Limited (basic ligatures) | Supports swashes, stylistic sets, alternate glyphs |
| Compatibility | Universal (all Windows versions) | Universal (Windows 2000+) |
The pattern: for most users, TTF is perfectly fine; designers working with multilingual or decorative projects may prefer OTF for its extra OpenType features.
How do I import my own font?
Downloading fonts from trusted sources
When you download fonts from the web, they usually arrive as .zip archives. Extract the files first—right-click the archive and choose Extract All. Once extracted, use the right-click or drag-drop method to install (Fontspring Support). Trusted sources include Google Fonts, Font Squirrel, and Adobe Fonts; avoid obscure sites that may bundle malware.
Importing fonts from external drives
Fonts stored on a USB drive or external hard disk can be copied directly into the Fonts folder. Open C:\Windows\Fonts in File Explorer, then drag the font files from the external drive into the folder. This installs them for all users automatically (PDQ). For a per-user install without admin rights, use the right-click Install method instead.
If you’re on a work computer without admin privileges, you can still install fonts for your own account using right-click → Install—just won’t be available to other users.
The catch: extraction is a prerequisite for any installation method.
Where is the fonts folder in Windows?
Locating the Fonts folder in Windows 10
The default path is the same across both versions: C:\Windows\Fonts. You can also reach it by opening Control Panel → Appearance and Personalization → Fonts. A third way: press Win+R, type shell:fonts, and press Enter.
Locating the Fonts folder in Windows 11
In Windows 11, the Fonts folder is still at C:\Windows\Fonts. The Control Panel route is unchanged, but you can also navigate via Settings → Personalization → Fonts and click Font settings to open the classic folder (PDQ).
What this means: no matter which Windows version you use, the Fonts folder is the system’s central typeface repository. Knowing how to get there directly saves time during bulk installs.
How to install fonts in Word?
Adding fonts that appear in Word
Any font installed system-wide (via any method above) becomes available in Word and other Office applications immediately after a restart of the app (Adobe Help Center). No extra steps needed—just look for the font name in the font dropdown.
Using third-party fonts in Word documents
Word supports embedding fonts in documents, which ensures the font travels with the file. Go to File → Options → Save and check Embed fonts in the file. This is useful when sharing documents with colleagues who don’t have the same fonts installed (YouTube – Microsoft Word font tutorial).
The takeaway: system-wide installation makes fonts available across all Office apps.
Installing Fonts via Command Line or PowerShell
For those who prefer the keyboard over the mouse, Windows supports font installation through Command Prompt and PowerShell. This method is especially useful for IT administrators deploying fonts to multiple machines.
- Command Prompt (as admin): Use
copy "C:\path\to\font.ttf" "C:\Windows\Fonts" - PowerShell (as admin):
Copy-Item "C:\path\to\font.ttf" "C:\Windows\Fonts" - Batch install: Place all font files in a folder, then run a loop:
for %i in (*.ttf *.otf) do copy "%i" "%WINDIR%\Fonts"
The catch: these methods require administrator rights. Without admin access, only the right-click Install method works for the current user.
Confirmed facts vs. what’s unclear
Confirmed facts
- Right-click and Install works for TTF and OTF (PDQ)
- Drag-and-drop installs for all users by default (PDQ)
- Command prompt copy method works (requires admin) (PDQ)
What’s unclear
- How to install variable fonts via Font Settings (may require separate management) (Adobe Help Center)
- Whether third-party font managers are needed for large collections
- Fonts folder is at C:\Windows\Fonts (no confirmed source)
Bottom line: most installation methods are straightforward, but variable fonts require additional attention.
Expert perspectives
“Building and maintaining a font collection on the computer you use for design work is an important part of life as a designer.”
“The simplest installation method is to download the font file, unzip it, open the font viewer by double-clicking the font file, and click Install.”
PDQ (software deployment company)
For the average Windows user, installing a font takes less than 30 seconds once the file is extracted. The real challenge comes when managing dozens or hundreds of fonts across a team. IT admins should investigate PowerShell deployment scripts or group policy to push fonts to all machines simultaneously. For designers working with variable fonts, sticking with right-click installation and keeping an eye on future Windows updates is the safest bet.
Related reading: What Is a USB-C? · Convert HEIC to JPG Free
Frequently asked questions
How do I uninstall a font?
Open the Fonts folder (C:\Windows\Fonts), right-click the font you want to remove, and select Delete. You may need administrator permission.
Can I install fonts without admin rights?
Yes—right-click the font file and choose Install. The font will be available only to your user account. The “Install for all users” option requires administrator privileges.
Why is my font not showing up in applications?
Restart the application after installing. Some programs cache the font list on startup. Also verify the font is installed in the correct format (TTF or OTF).
How to install multiple fonts at once?
Select multiple font files (Ctrl+click or Shift+click), then right-click and choose Install. Or drag them all into the Fonts folder at once.
How to install fonts from Adobe Fonts?
Adobe Fonts require the Creative Cloud desktop app. Open the app, go to Added Fonts, and click Install next to each font (Adobe Help Center).
How to install fonts in PowerPoint?
System-wide installed fonts automatically appear in PowerPoint. For embedded fonts, use the same method as Word: File → Options → Save → Embed fonts in the file.
Are there any risks with downloading free fonts?
Stick to reputable sources like Google Fonts, Font Squirrel, or Adobe Fonts. Free fonts from unknown websites may contain malware or install unwanted software.
More related posts
 Auckland Tree Top Walk: Kauri Glen Boardwalk Guide
 Countries in South America: List of 12 Nations + Key Facts
 Kāinga Ora Job Cuts: 620 Roles Eliminated in Restructure
 Map of New Zealand: Detailed, Tourist & Printable Guides
 FIFA Club World Cup 2025: Teams, Schedule & Results
 Britax Grow With You ClickTight: Worth It? Lifespan & Safety
 Sanderson Fish Oil 3000 – Triple Strength Omega-3 Guide
 NZ Passport Photo Checker – Free Official Tool & Requirements